When I built my outdoor kitchen, I debated between putting in a kegerator versus a fridge. I opted for a fridge thinking it would be more practical, and I hadn't started home brewing at that time. Since then, I began home brewing, and we hardly ever use the fridge because the main kitchen is not far away. So I looked into converting the fridge into a kegerator. At first, I was discourage by how little space is inside the fridge. It seemed I would not be able to fit even one 5-gallon corny keg and I would have to resort to smaller kegs. I regretted not going with a kegerator from the very start. Then I found this guy who had converted a very similar fridge (Danby DAR440BL) into a kegerator that fits two corny kegs and a 5lb CO2 tank (the key to getting enough space was removing the storage panel on the door).
I want to share a little about this project because I know how immensely useful this guy's project and his pictures were to me. I hope others will find this useful as well.
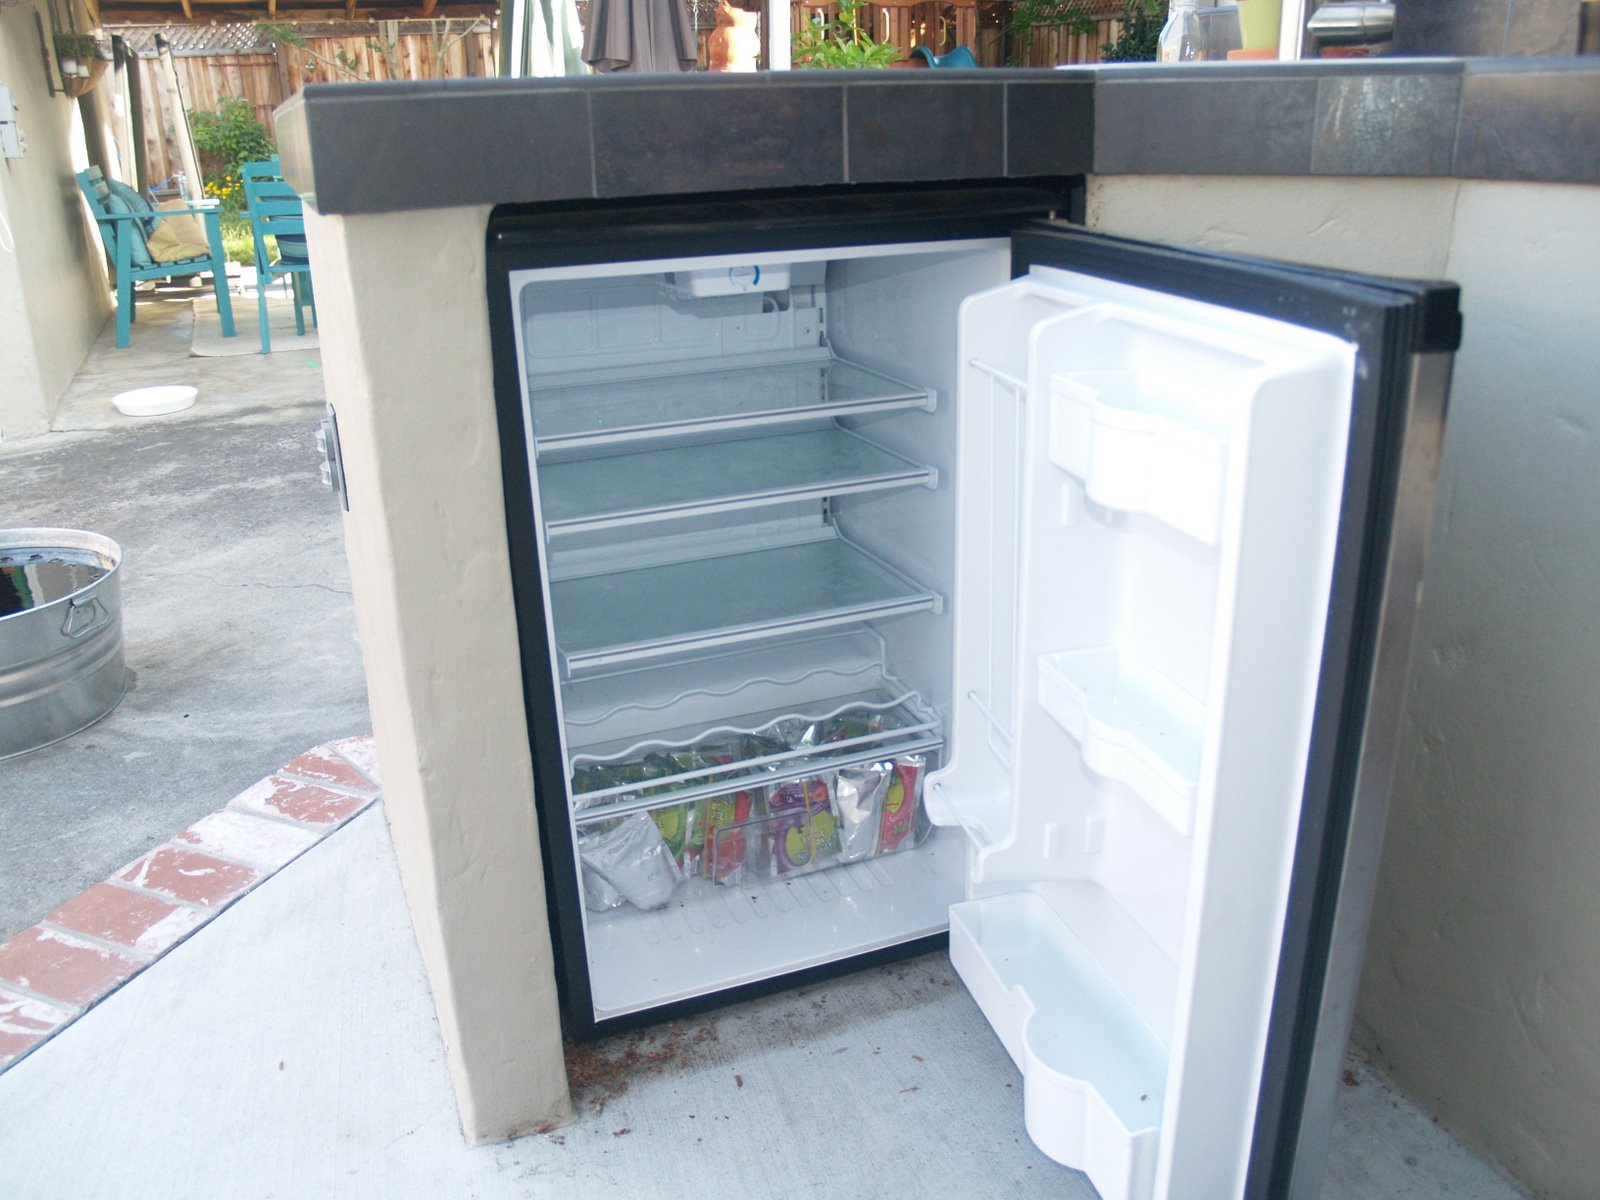
Here's the original fridge in my simple outdoor kitchen. It is a Danby DAR482BLS, which can be commonly found for under $200. It is not intended for outdoor use, but when shopping for outdoor kitchen, quite a few contractors recommended its use over much more expensive outdoor fridges. So far, it's working just fine.


Here's the finished product. It was not difficult to make the conversion. I bought all the kegerator conversion equipment from http://www.beveragefactory.com. The kegs were used soda kegs found at a local brew shop.
