When I built my outdoor kitchen, I debated between putting in a kegerator versus a fridge. I opted for a fridge thinking it would be more practical, and I hadn't started home brewing at that time. Since then, I began home brewing, and we hardly ever use the fridge because the main kitchen is not far away. So I looked into converting the fridge into a kegerator. At first, I was discourage by how little space is inside the fridge. It seemed I would not be able to fit even one 5-gallon corny keg and I would have to resort to smaller kegs. I regretted not going with a kegerator from the very start. Then I found this guy who had converted a very similar fridge (Danby DAR440BL) into a kegerator that fits two corny kegs and a 5lb CO2 tank (the key to getting enough space was removing the storage panel on the door).
I want to share a little about this project because I know how immensely useful this guy's project and his pictures were to me. I hope others will find this useful as well.
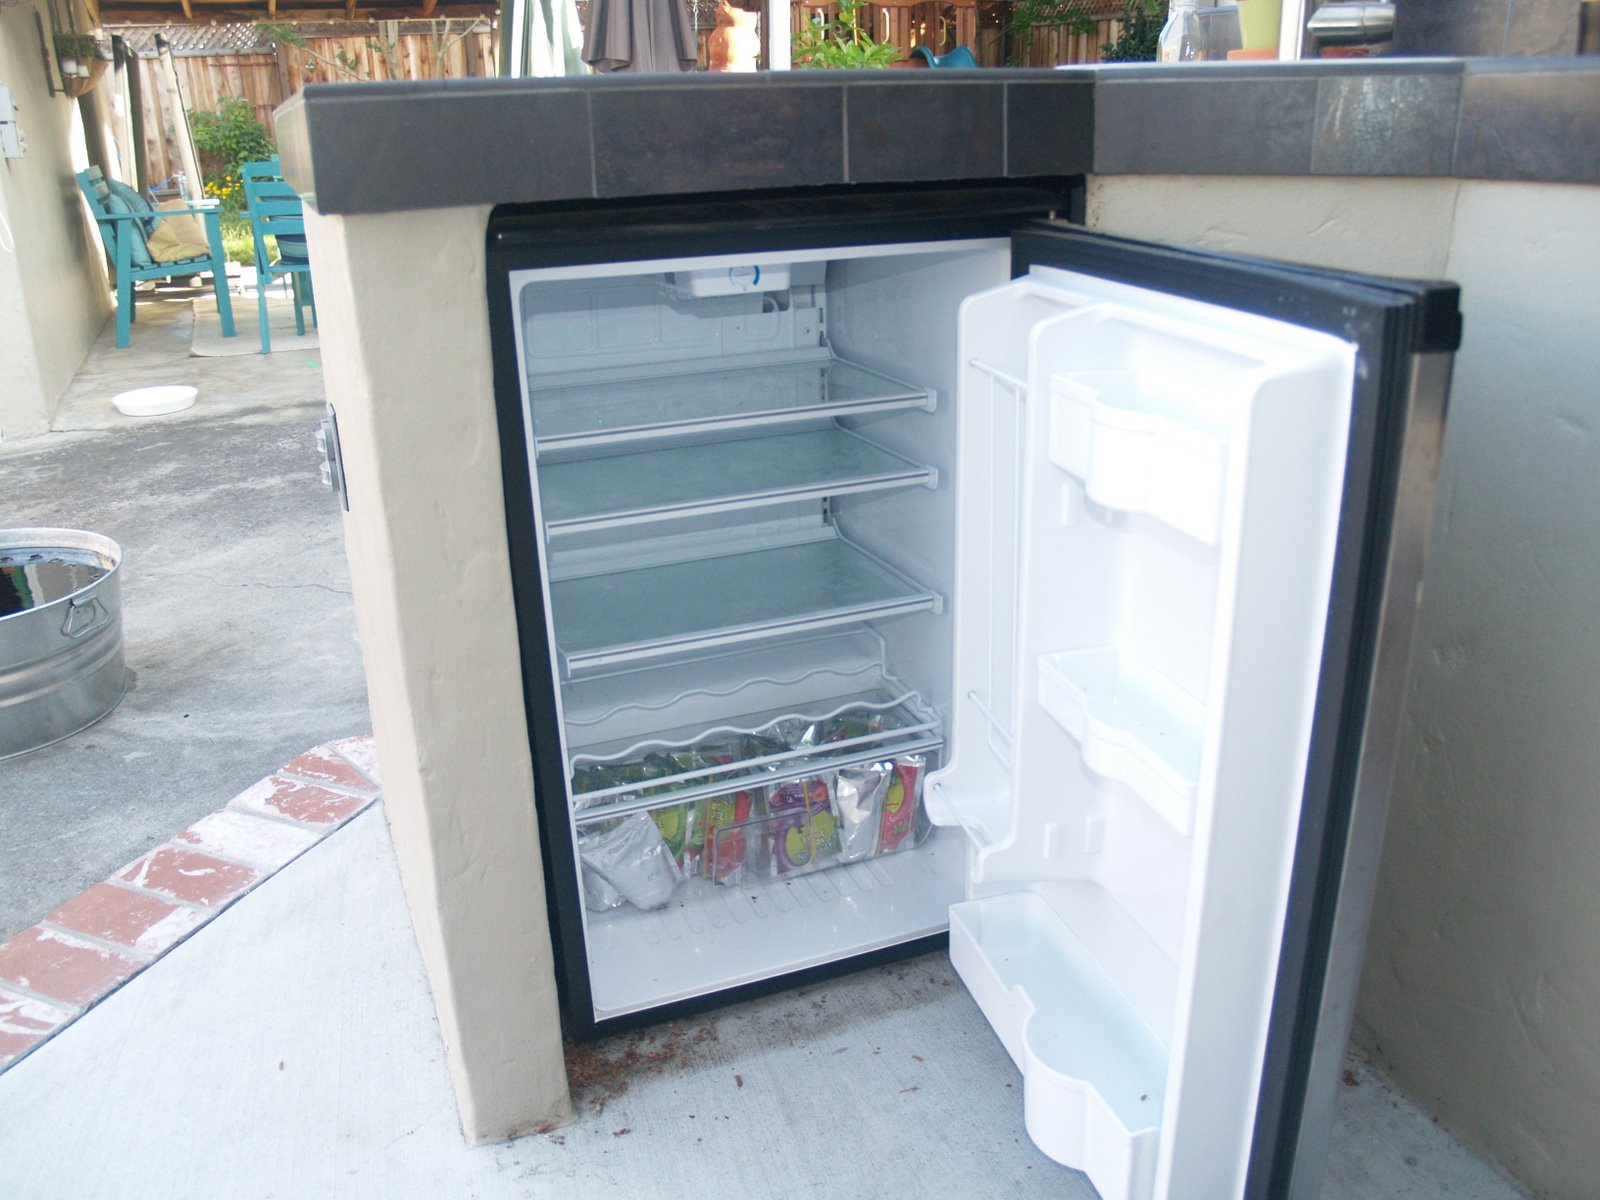
Here's the original fridge in my simple outdoor kitchen. It is a Danby DAR482BLS, which can be commonly found for under $200. It is not intended for outdoor use, but when shopping for outdoor kitchen, quite a few contractors recommended its use over much more expensive outdoor fridges. So far, it's working just fine.


Here's the finished product. It was not difficult to make the conversion. I bought all the kegerator conversion equipment from http://www.beveragefactory.com. The kegs were used soda kegs found at a local brew shop.

Hi! This is an older post, but I had a question. I am considering a very similar conversion, with a Danby fridge below a countertop, and a tower faucet mounted to the countertop. So, from your description, you drilled two holes in the counter for each beverage line. The two lines run down from there into a larger hole in the fridge - how did you seal up the hole in the fridge? Also, is there any cooling for the lines & tower, or does the beer in the tower just get warm?
ReplyDeleteMy idea is to drill one large hole in the countertop & fridge, line them up, sink a piece of pipe through to connect them, and seal it up with caulk. Then the tower is still "connected" to the fridge and gets cooled as well.
After finishing the conversion, I stuffed a plastic shopping bag into to hole in the fridge to provide some temporary insulation. It's still there today.
DeleteI didn't provide any cooling for the tower, thinking I would try it first without. From my experience, I'm not sure it's necessary. Beer comes out cold, and I don't have any problems with foaming. I'm sure it is better to have cooling, just not sure if the little difference is worth the effort and the additional electricity bill (the tower is in full sun in the summer).
A problem with using a solid pipe is that your hole in the fridge must line up with the hole in the counter. For me, I liked the tower to be a few inches closer to the edge than where the hole must be on the fridge. Just something to consider.
Hope that helps...
That does help! I will have to see how things come together when our bar unit is installed, but that's a good point about having to line up the holes. Also, good to hear from at least one person that tower cooling is not a big issue... If I skip cooling the tower, it will make it much easier. Thanks!
DeleteSo, I am just starting on a similar project. Got a Danby 440BL from Amazon. Unfortunately the door construction you describe in your post has changed. There are no screws holding the plastic panel on the door. The rubber trim is held in a slot, and the extruded door plastic (interior, with bottle holders and shelves) is more or less glued in place by the foam insulation. The foam fills all the nooks and crannies in the plastic insert. I cut the door plastic at the slot that holds the rubber gasket, but had a lot of trouble separating the interior from the form fitting foam. In reality, from the perspective of insulation and door integrity this new design is an improvement, but it makes things much more difficult from a modification perspective.
ReplyDeleteThanks for the info. Good to know.
DeleteThanks for the info. Good to know.
DeleteI am in the planning stages of this exact build. Did you insulate the lines coming from the refrigerator to the tower?
ReplyDeleteI didn't insulate the beer lines. The beer is cold but not ice cold. Maybe insulation would help, but I think the fridge might be a little under powered by well.
Delete